


Turn ideas into videos with text to video AI tools, then refine visuals with an AI image editor online. Discover prompts, editing tips, and creative
Turn Text to Video and Edit Images with AI
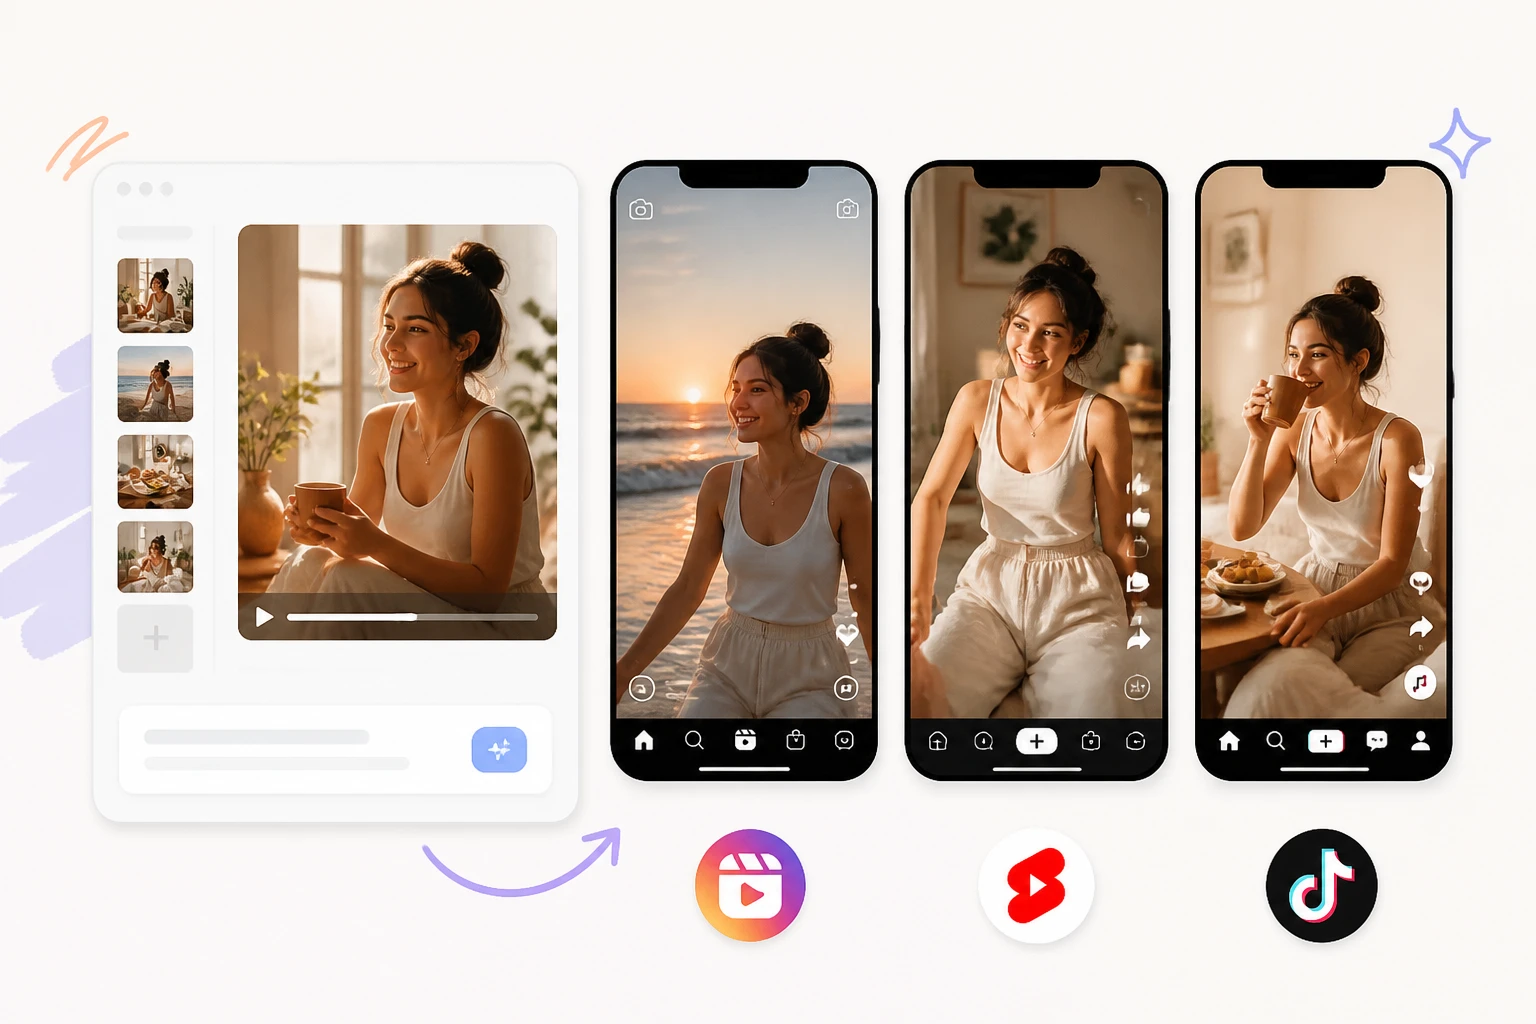
You have a vision for a project but no way to film it. You want to share a story, explain a product, or just make something cool for social media. In the past, you needed a big budget and a team of experts. Now, you can use text to video software to bring your words to life in seconds. This technology takes your written descriptions and builds a visual world around them.
Creating the video is just the first part of the journey. You might find that a specific frame looks almost perfect, but it needs a small adjustment. You can use an AI image editor online to tweak the colors, remove unwanted objects, or enhance the resolution. These tools give you the power of a professional studio right on your laptop.
Step 1: Brainstorming and Scripting
The first step to a great video is a clear idea. You need to think about what you want the viewer to see and feel. Start by writing down a few sentences that describe the scene. Instead of saying a man in a forest, you should say a tall man wearing a red coat walking through a foggy pine forest at sunrise. The more details you provide, the better the results will be.
AI tools work best when you give them specific instructions. You should focus on the subject, the action, the setting, and the lighting. If you want a specific mood, include words like gloomy, cheerful, or mysterious. This helps the software understand the context of your request. You'll find that spending a few extra minutes on your script saves a lot of time later.
Step 2: Choosing Your Visual Style
Before you hit the generate button, you need to decide on a style. Do you want your video to look like a cartoon, a 3D animation, or a real movie? Most platforms offer a variety of presets that you can choose from. Picking a style helps the AI maintain consistency across different scenes. If your first scene is a realistic photo, your second scene should not be a pencil sketch.
Consistency is the key to making a professional product. If you are building a brand, you might want to stick to a specific color palette. You can mention these colors in your prompts. For example, you can ask for a futuristic city with neon blue and purple lights. This ensures that every clip you create fits together perfectly in your final edit.
Step 3: Generating the Content
Once your script and style are ready, it is time to generate the media. You will enter your prompt into the tool and wait for it to process. Depending on the length and complexity, this could take a few seconds or a few minutes. Don't be discouraged if the first result isn't exactly what you imagined. AI generation is an iterative process, which means you might need to try a few times.
If the output is close but not quite right, try changing one or two words in your prompt. If the character is moving too fast, add the word slowly to your description. If the lighting is too dark, ask for bright sunlight. Small tweaks can lead to big improvements in the final video. You'll learn over time which words have the biggest impact on the results.
Step 4: Refining the Visuals
Sometimes the video generator creates a great scene, but one specific frame has a mistake. Maybe a person has an extra finger or the background has a strange shape. This is when you take a screenshot and move to a specialized tool. You can fix these small errors quickly without having to restart the entire video generation process.
Using these tools allows you to upscale your images so they look crisp on large screens. You can also use them to change the sky, add a logo to a shirt, or remove a distracting sign from the background. This level of control ensures that your final project looks polished and professional. It bridges the gap between a rough AI generation and a finished piece of art.
Step 5: Final Assembly
After you have all your clips and fixed images, you need to put them together. You can use any basic video editing software to layer your clips in the right order. This is also the time to add music, sound effects, and voiceovers. A good soundtrack can make a simple video feel much more emotional and engaging for your audience.
Make sure the transitions between clips are smooth. If you have a clip of a person entering a house, the next clip should show them inside the house. Pay attention to the pacing of your video. If the music is fast, your clips should be short and punchy. If the music is slow, you can let the scenes breathe a bit longer.
Tips and Best Practices
To get the most out of these tools, you should follow a few simple rules. First, always start with short prompts to see how the AI reacts. Once you see the basic output, you can add more details to refine it. This prevents the software from getting confused by too many instructions at once.
Second, keep an eye on the aspect ratio. If you are making a video for a phone, use a vertical format. If it is for a TV or a computer, use a wide format. Changing the aspect ratio later can crop out important parts of your image, so it is best to set it correctly from the start.
Third, use reference images if the tool allows it. If you have a photo of a specific building or a person, you can upload it to guide the AI. This helps the software stay true to your original vision. It is much easier for the AI to copy a style from a photo than to guess what you mean by a cool building.
|
Feature |
Purpose |
Benefit |
|
Prompting |
Giving instructions |
Controls the output |
|
Upscaling |
Increasing size |
Makes images clearer |
|
Inpainting |
Fixing small areas |
Saves time on re-renders |
|
Style Transfer |
Changing the look |
Keeps branding consistent |
|
Background Removal |
Cleaning up scenes |
Focuses on the subject |
Common Mistakes to Avoid
One of the biggest mistakes beginners make is being too vague. If you just type dog, you might get a poodle when you wanted a bulldog. Always be specific about the breed, the color, and what the dog is doing. Specificity is your best friend when working with artificial intelligence.
Another mistake is ignoring the background. People often focus so much on the main character that they forget to describe where the character is. A character standing in a void looks strange. Always include a few words about the environment, such as in a crowded kitchen or on a lonely beach.
Do not expect perfection on the first try. Even the best creators have to generate multiple versions of a scene before they find the right one. Be patient and willing to experiment with different words and settings. The more you play with the tools, the better you will become at predicting how they will respond to your ideas.
Finally, avoid overcomplicating your prompts with too many adjectives. If you use twenty different words to describe a hat, the AI might get overwhelmed and ignore the hat entirely. Stick to three or four strong descriptors for each object in your scene. This keeps the instructions clear and easy for the software to follow.
Conclusion
Creating high quality videos and images is no longer reserved for people with expensive equipment. By using text to video tools, you can turn your thoughts into moving pictures in a matter of minutes. When you combine this with an AI image editor online, you gain total control over the look and feel of your content.
These tools are designed to help you express your creativity without the usual barriers. You can tell stories, build ads, or create art that was once impossible to make alone. As you practice, you will find new ways to blend these technologies to produce even better results. Start with a simple idea today and see where your imagination takes you.

COMMENTS